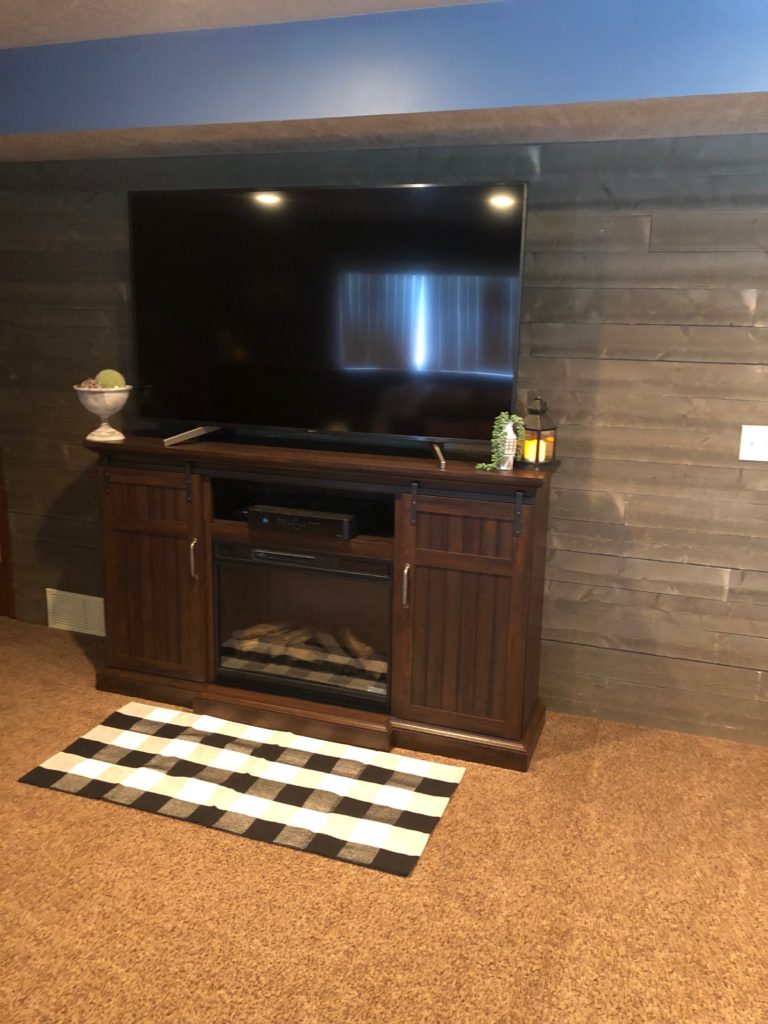
A long overdue post coming to you about our easy-peasy basement project! If you follow me on Instagram, you saw the process of the ship-lap wall stages, all-in-all only taking 2 (not full) days! We are not crafty people, Spencer being the first to admit that, and he said it was easy to do!
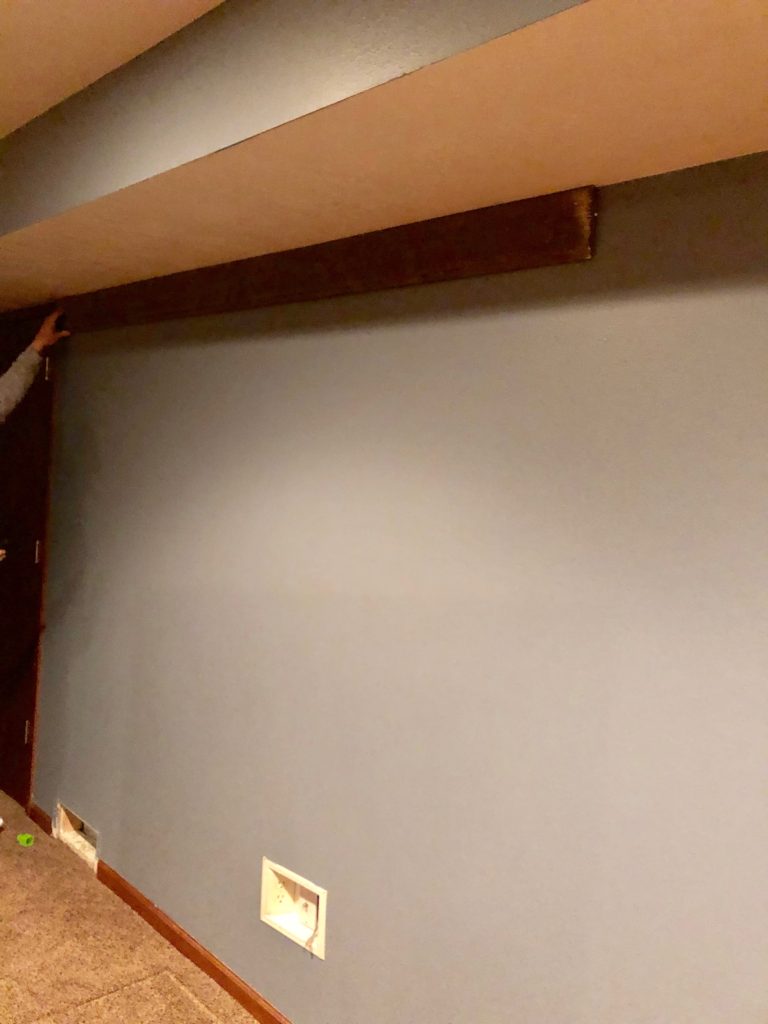
First you go and buy the barn wood, we got ours at Home Depot. Get a stud-finder and draw with a sharpie dotted lines down where your studs are at, that’s where you’ll want your nails to go. We used a nail gun which will make for a quicker, more sturdy hold. Start at a corner, we chose our top left, and use an entire piece of the wood. Then, depending on the wall size, your next piece will either fully fit or you have to cut a little bit off. See the image below, this was our starting point, using the entire full piece of wood.

He always started the next piece with any remainder piece. So for example, if he had to cut that second piece, that cut off portion would be what he started with for the next piece. When you start cutting pieces to fit your slot and using those remainders, that’s when you start getting that textured, mixed pieces look. If you want it look more textured, you can always cut out a bunch of sized pieces and use those randomly.
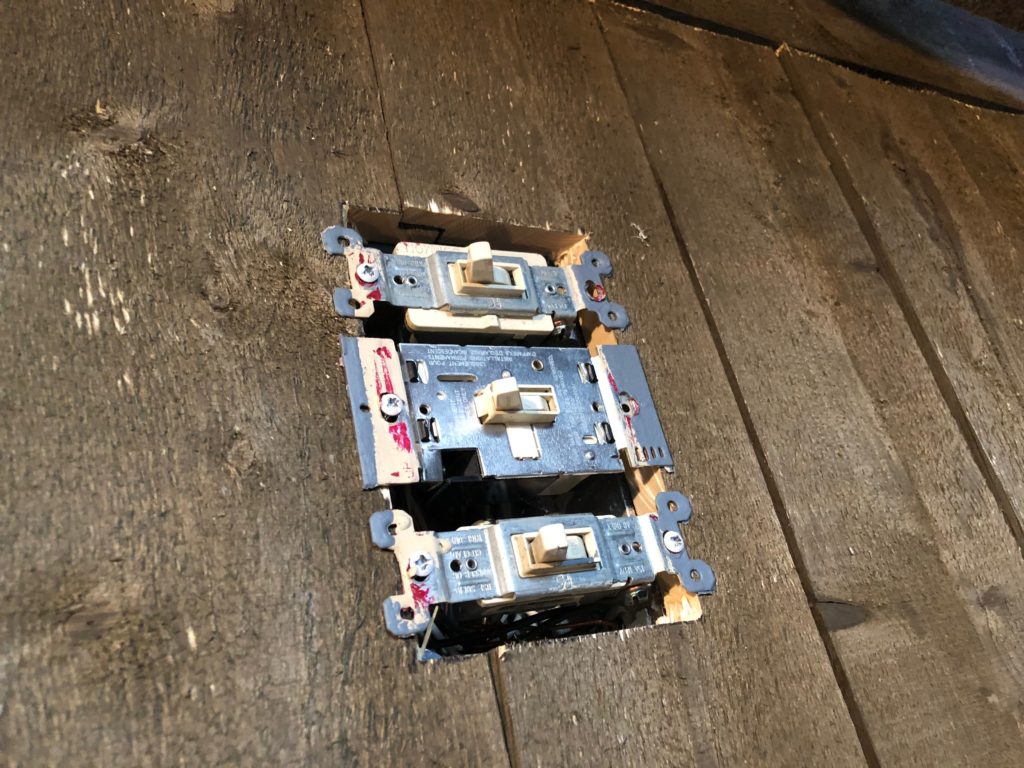
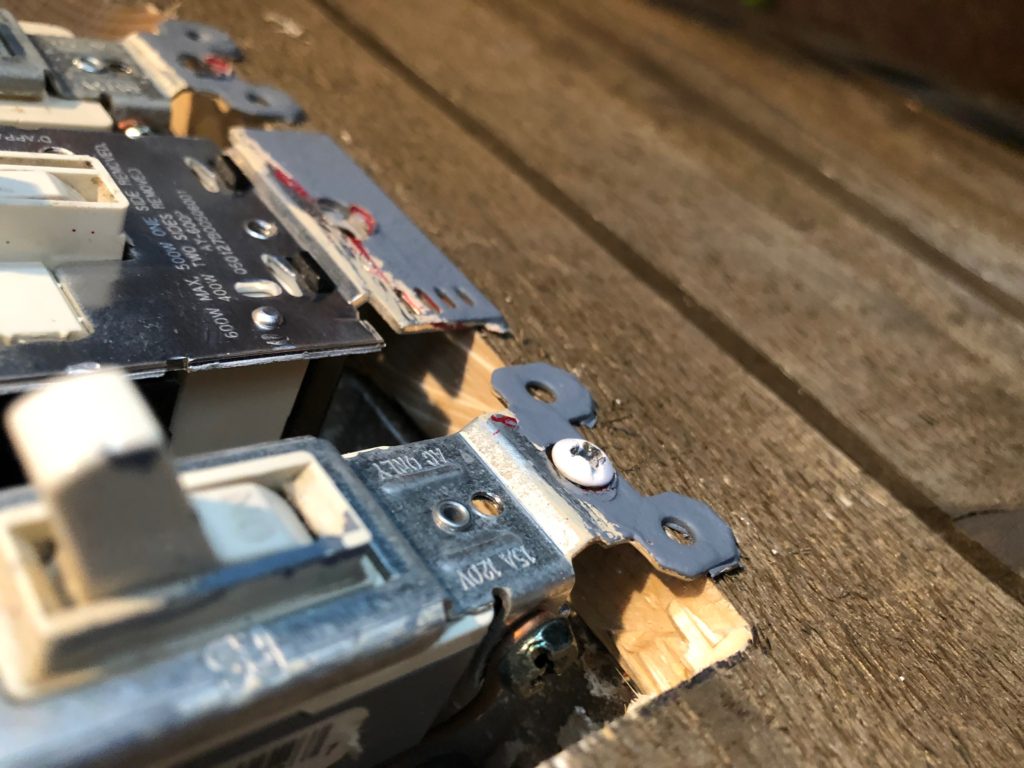
When you get to the light switches shut the power off the breaker to those switches, take the face plate off and then you pull the switches out. You’ll have to have your switches pulled out farther then before to account for the wood space. The screws to the switches will screw into the shiplap. See images below. Then you’ll put the face plate back over top.
You’ll do the same thing for any air vents. That’s it! It took Spencer around 12 or so hours that he split up between two days. You got this!!


Leave a Reply